Oh My Gourd
Oh my gourd
Step by Step Gourd bowl
A member of the large Cucurbitaceae family, it is a cousin to marrows, pumpkins, butternuts, squashes, cucumbers and loofahs. It is the only member of the family that has a skin that turns into a hard shell that is impervious to water when the fruit ripens.
They come in all shapes and sizes. You can even trellis and wire them so they grow into a particular shape.
I ask Scarecrow to grow them for me and when they are ready to pick, I store them away to allow them to dry.
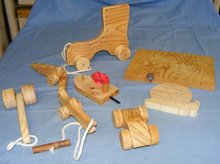
With some imagination you can create anything.
What you need:
Gourd
Drill
Saw
Sandpaper
Mask and goggles
Paint or oil for finishing
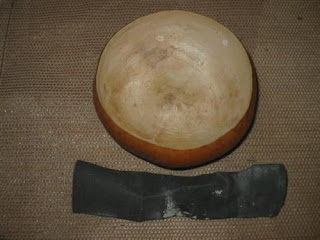
Step 1
Select the gourd.
Step 2
Draw the shape of your cut-out
Step 3
Using a saw such as a plasterboard saw, cut the shape out. You may have to drill a small hole first to insert the blade
Step 4
Put on your safety gear…
…and sand the edges

Step 5
Apply paint or oil finish as required. You do not need to apply a finish; that is just for aesthetics. Often a good buff with a fluffy cloth is adequate
[insert piccy of a fluffy cloth...LOL, LOL, LOL!!!]...sorry 8-(
Step 6
Fill with goodies according to taste (or whatever surplus harvest you may have).
Here we have used some of our surplus almonds currently selling for $15.00 per kilo (though we feed them to the dog for free coz they fall from the tree of their own accord 8-)
Remember that some of these gourds measure 200 to 300mm in diameter
The suburban rellies love receiving this type of gift from their hippy rellies who grow such exotic fruit and veg.
You can also cover the top with a balloon to make a small drum played with a pencil or chopsticks 8)
Pic to follow...
Regards, Doc
![]()
No comments:
Post a Comment